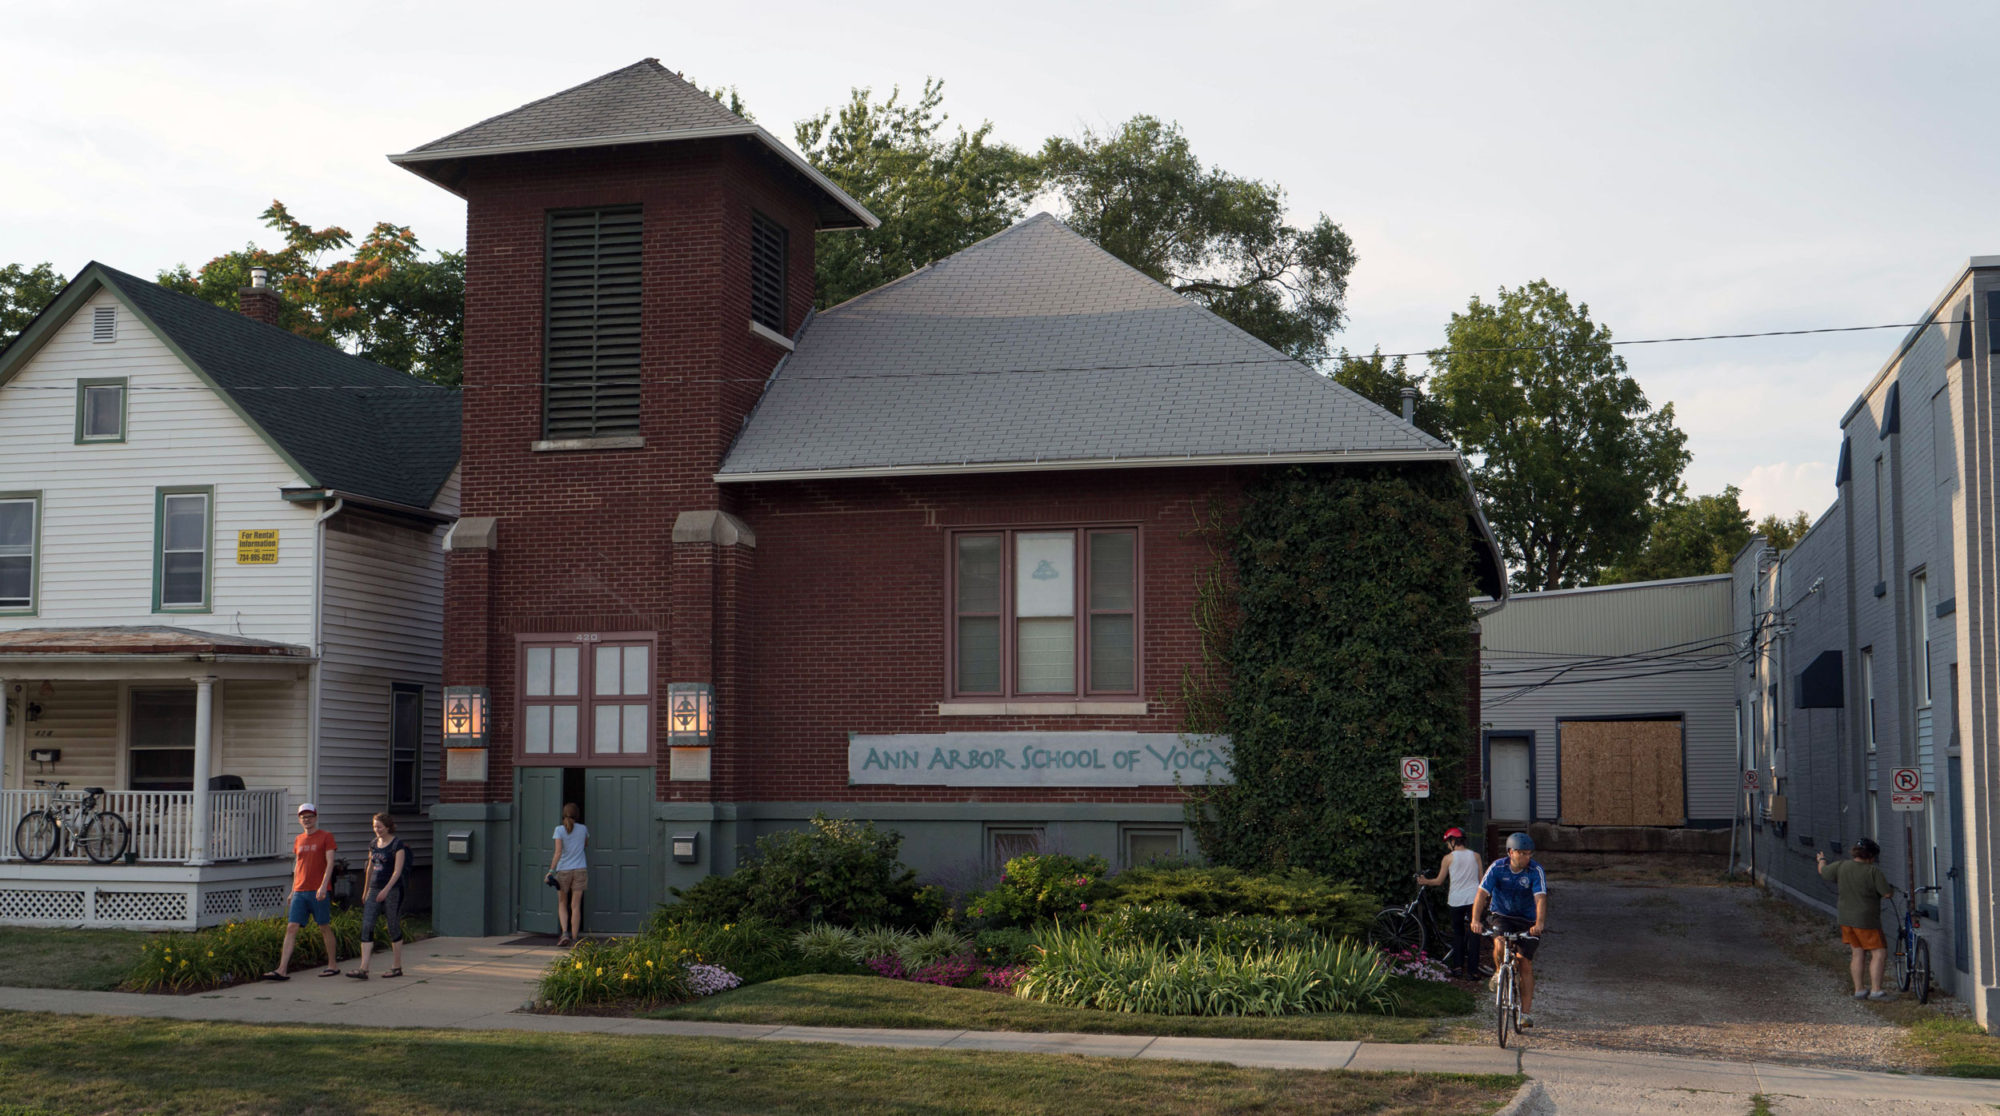
Hello AASY students. Like many other yoga studios we chose to close temporarily to help do our part to “flatten the curve.” I thought I’d share a slightly abbreviated version of the sequence I had in mind for this morning’s Level One class, for home practice.
Lately I have been following Laurie’s general theme but coming at it from a different angle, typically one that reflects my own struggles with these poses. This week, Laurie was teaching actions and poses preparatory for forward bends. My short, home practice version of this is below. If the names are unfamiliar, you can refer to Light on Yoga or just google them. The work involved in these poses can lead to a calm, quiet, introverted mind state. See if you notice that. Take your time and do multiple reps.
1. Repeat last week’s hip stretch (half padmasana/lotus). If you were there last week, use the block technique as well. Use your breathing to assist and extend your spine forward (don’t just drop your torso).
2. Maricyasana 1 twist. Learn to move your torso past your shin/knee as you extend forward before twisting. Stay long in your spine.
3. Maricyasana 3 twist (unless menstruating, in which case repeat the pose above). Drop your thigh bone down into the hip (hint: this is what Laurie was teaching all week). Then try to place your belly on your thigh before twisting.
4. Virabhadrasana 2 (warrior 2). Once you’ve bent your knee, insert the thigh bone deep into the hip and sit lower. The bent leg thigh bone moves in the same direction as the outer edge of the back foot.
5. Utthita Parsvakonasana (side angle pose). With the bent leg thigh moving back into the hip, extend your torso (both sides!) in the other direction.
6. Uttasana (standing forward extension). Lift your thigh bones to the ceiling and drape your torso. If stiff, bend halfway and place hands on the wall, and focus on the leg work.
7. Halasana (plow pose). Guess what? Suck your thighs into their hip joints and press your thighs toward the ceiling! If stiff, use a chair or a wall to support your feet. If menstruating, do Upavistha Konasana and be soft in your abdomen but press your thighs down strongly.
8. Janusirsasana (head of the knee pose). Now the forward bend. First pull/draw strongly your straight leg thigh bone down towards the floor and into the hip. Before coming forward, raise both arms straight to extend your ribs and spine, then EXTEND forward to reach your feet or a strap, or your shins. It’s about the extension, not what you can touch.
9. Savasana. See how well you can settle your thighs down into the floor. And don’t skip savasana please.
If you are an advanced student, consider where Laurie’s instruction this week might also be headed: among other possibilities, this work really assists the arm balances and the eka pada sirsasana cycle (putting your leg behind your head). In Light on Yoga, there is quite an emphasis on these two categories/cycles, which always makes me ask myself….Why?? So consider that question and take some arm balances before you get to Halasana or Sarvangasana, as I did this morning. Practice for fun and don’t get frustrated. I find it’s best when learning the arm balances to use the “touch and go” method.
Namaste,
Dave

